Sunday, May 5, 2013

Rainbow Art Party

My oldest had a birthday today!
5 years old!
Yesterday we had a friend party, we went with the Rainbow Art Party theme!

My great friend Lisa helped me out with the chalk art on the easel as a welcome sign to the party. The easel was also a gift for my daughter, IKEA $15.


While kids showed up we played sidewalk chalk until the main party started.
 

Then we moved to the backyard where I had tables set up with watercolors and canvases. 
I used little treat cups at each place to dip their brushes in water.


Treat bags and favors at the end of the table. 
In the bags are crayons, mini watercolor set, pad of paper, and some candy.
Plus, a jar of modeling clay to go home as well.


Birthday Girl!


I was surprised at how fast the kids were done with the paint! it lasted like 5 minutes.
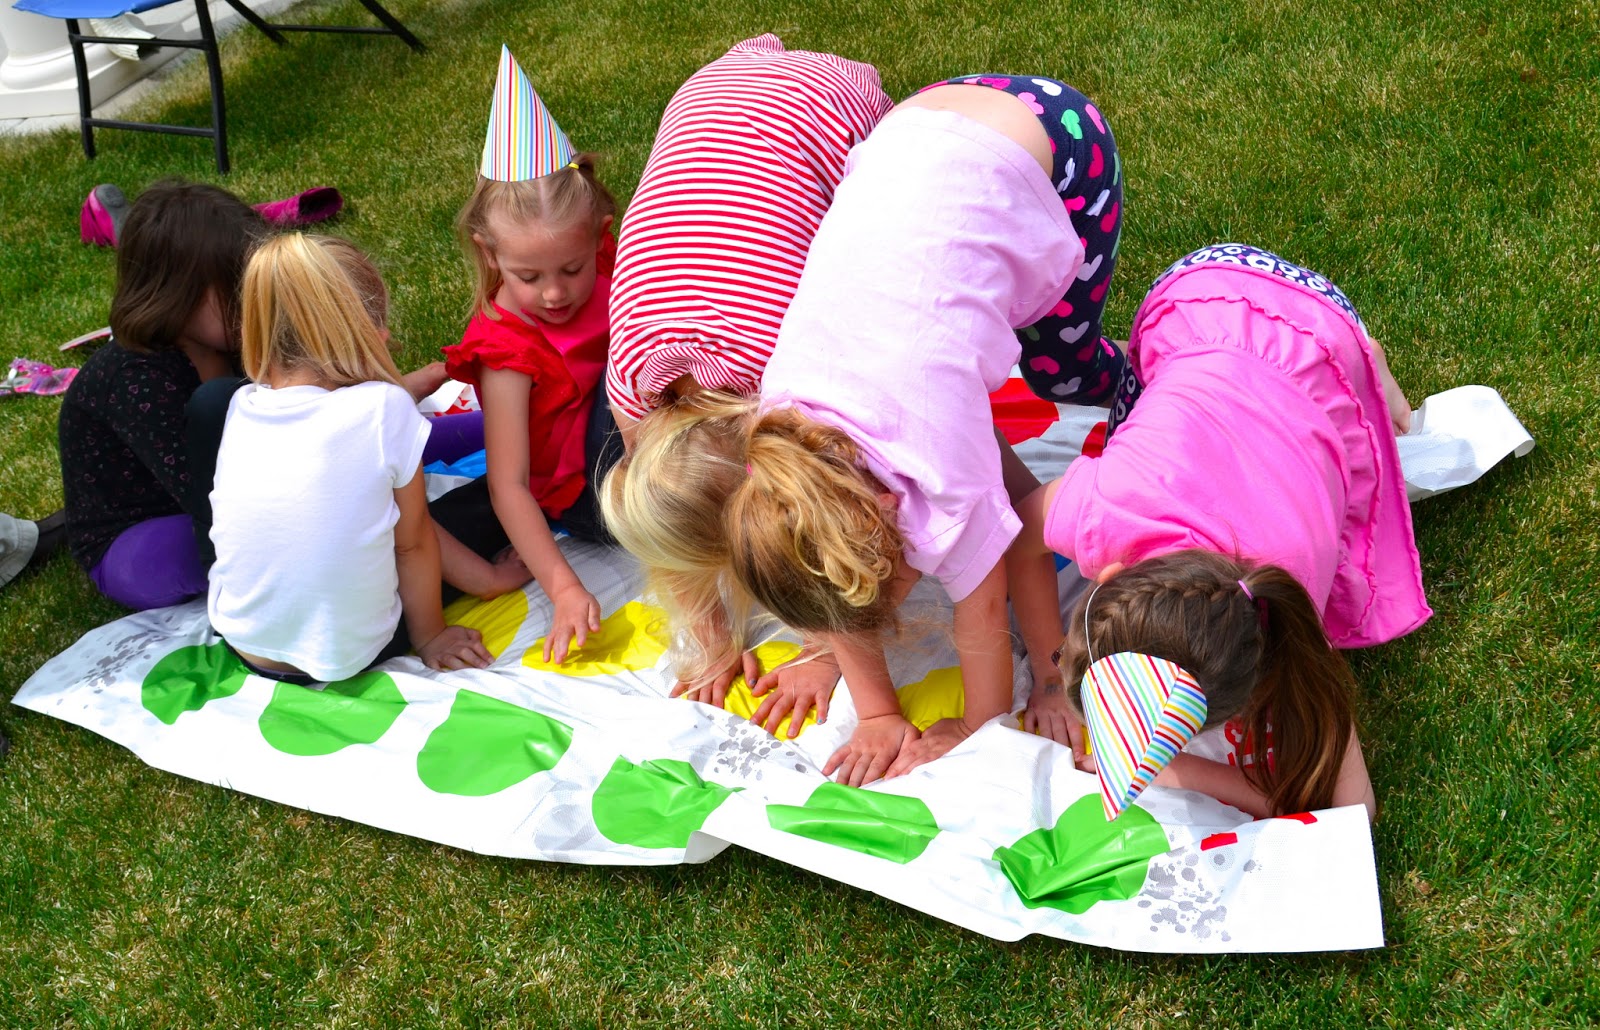
So we moved on quickly to another game: Twister!
This was hysterical.  We had 2 twister mats because we had lots of kids. 
We made all sorts of things like: Put you Right elbow on Blue and sing Happy Birthday!
This was a hit for sure.


My best friend makes gourmet pops here locally, so I enlisted her help to make "rainbow pops"
for the party. They were very yummy and each layer had its own flavor. Check out Lick'd Pops if you live here in Utah


The kids played and then the party wrapped up.

Now fast forward to the next day we had a family party with Grandma's and Grandpa's.
Another friend of mine, Brook, made the cake for this party.
She is basically gourmet chef!

I ordered rainbow layers, white frosting with sprinkles on the top only and no sprinkles creating the number space. The pretty plates and plates are from Target.


And one more picture with the girl and her new mint green bike!


So, there you go: Rainbow Art Party!
Hope you enjoyed the pictures.

Wednesday, November 28, 2012

Family Photo Christmas Tree

We have our family Christmas tree downstairs in our basement where there is lots of room.
But I hated not having a tree on our main level, so I decided to buy a 4 foot tree for my entryway table. I didn't want to get to fancy with the decorations for it. I had 2 strands of felt balls strung on twine that I bought at Home Goods a while ago, so I put those on and then I had an idea to hang up my Instagram pictures that I had printed out in the summer. I just used mini clothes pins to put them on. I love the meaning behind it and also anyone that comes over loves to look at the photos on the tree.


Tuesday, November 13, 2012

Tuesday, October 2, 2012

Simple {Halloween} Advent Calendar

 {Halloween Advent Calendar}

This is really just a method, so it can be applied to any holiday or season or event.

I went to Zurcher's and bought black and white chevron treat bags 
(The really small ones so I could fit them all on 1 string).
I cut out black numbers and orange circles on my Cameo.
I assembled with candy and hung the bags on some bakers twine.

*Tip* 
I did not glue the circles to the bag: 
When my girls take a bag down everyday the circle with the number stays up so we can still see the whole month of numbers. Also, I wanted to reuse my numbers/circles for next year.


Happy counting down!

Saturday, September 29, 2012

Halloween Paper Cone Wreath

Time to start putting up all my Halloween decorations!

I went to a local boutique store and saw a really cute Halloween paper cone wreath.
I snapped a picture on my phone and then went home and made a list of items I needed.

This is the wreath I took a picture of

Here is MY wreath:

A few things I learned from my first paper cone wreath:

1. Use cardboard as the base not a wreath form (the hot glue was melting my wreath form.
2. Get LOTS of glue sticks.

Here are the elements I used:

I used my Silhouette Cameo to cut out the black card stock. 
Then I just added my elements to it. They came in my Halloween paper pack.


 You can see how I made my picket fence sign HERE.

You wont be sorry! Tons of cute ideas.

Related Posts Plugin for WordPress, Blogger...